
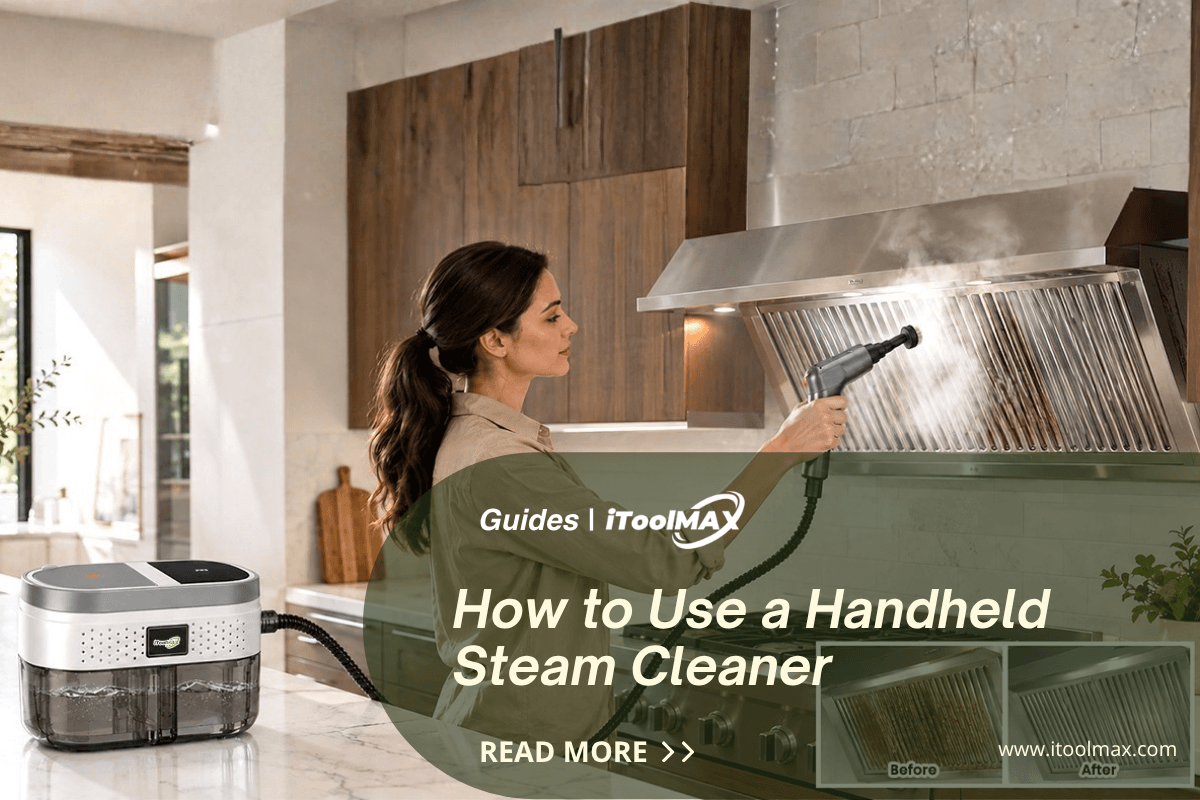
Many users struggle with stubborn stains in the kitchen and grout between tiles, which is why iToolMax has launched a high heat handheld steam cleaner—a device that makes some of the toughest cleaning tasks around the house much easier.
To use the handheld steam cleaner, simply fill the water tank, attach the appropriate cleaning head, wait for the machine to preheat, then gently direct the steam toward the soiled surface, and finally wipe away the loosened grime with a clean microfiber cloth.
These are the basic steps, but to achieve the best cleaning results, you’ll also need to select the right cleaning head, control the steam output appropriately, and understand which surfaces can safely withstand high temperatures and moisture.
What Is a Handheld Steam Cleaner?

A handheld steam cleaner is a compact, high-temperature cleaning appliance that heats water to a high temperature and releases hot steam through a nozzle or cleaning attachment to clean surfaces.
Unlike traditional mops or spray cleaners, it uses high heat and moisture to help remove grease, soap scum, stuck-on food residue, dirt, and other debris from surfaces.
Because they are compact and portable, handheld steam cleaners are particularly well-suited for home use, especially for deep cleaning kitchens, bathrooms, windows, appliances, and vehicles.
How Does a Handheld Steam Cleaner Work?
The process is simple:
Water → Heating → Steam → Softening the grime → Wiping away the grime
Inside the machine, water is heated until the cleaner releases hot steam through the nozzle. When the steam comes into contact with the soiled surface, the heat and moisture help soften and loosen the buildup. Afterward, a brush or scraper can be used to help remove stubborn deposits.
Before You Start: Prepare Your Handheld Steam Cleaner
1. Please have all the necessary items ready:
- high temperature handheld steam cleaner
- Appropriate attachments
- Measuring cup or water funnel (if available)
- Clean microfiber cloth
- Vacuum cleaner, brush, or dry cloth
- Water approved by the manufacturer
2. Check whether the surface is suitable for steam cleaning
Before cleaning an unfamiliar surface, check the surface’s care instructions and the steam cleaner’s user manual.
If in doubt, test the steam on a small, inconspicuous area first.
3. First, remove loose dirt
Such as dust, bread crumbs, and pet hair
4. Add water
Open the water tank and fill it to the manufacturer’s recommended fill line. Do not overfill. (Be sure to unplug the steam cleaner before adding water.)
Be sure to follow the specific instructions for your machine; do not assume that one type of water is suitable for all steam cleaners.
6 Steps to Use Your Handheld Steam Cleaner

Step 1: Choose the Right Steam Cleaner Attachment
Here is a practical starting guide:
| Attachment | Best For | Common Cleaning Areas | Typical Starting Technique* |
|---|---|---|---|
| Jet / Concentrator Nozzle | Focused steam | Faucets, corners, window tracks, crevices | 5–10 sec per small area, then wipe |
| Nylon Round Brush | Stubborn grime | Grout, sinks, stovetops, bathroom fixtures | 10–20 sec with gentle brushing |
| Scraper Tool | Stuck-on residue | Stovetops, ovens, hardened spills | Steam 5–15 sec, then gently scrape |
| Window Squeegee | Smooth glass | Windows, mirrors, shower doors | Slow continuous passes |
| Large Brush / Hand Tool | Wider surfaces | Countertops, tiles, appliance surfaces | Slow overlapping passes |
| Fabric Tool | Suitable fabrics | Upholstery, curtains, selected car seats | Short, light passes |
| Extension Hose | Hard-to-reach areas | Vehicles, deep corners, awkward spaces | Use according to attached tool |
Step 2: Attach the Tool and Plug In the Cleaner
Place the steam cleaner on a stable surface or the floor, and plug it into an electrical outlet.
The steam may be hot enough to cause burns, so be sure to keep the nozzle away from the following:
- Your face
- Your hands
- Other people
- Children
- Pets
Step 3: Let the Steam Cleaner Heat Up
Before cleaning, please wait for the machine to warm up to its operating temperature. Many models are equipped with an indicator light that changes color, turns off, or remains lit when the machine is ready.
Warm-up times vary significantly depending on the model.
For example, some steam cleaners currently on the market have a warm-up time of about 30–40 seconds, while certain BISSELL handheld models may take approximately 3.5 minutes. (For specific times and indicator lights, please refer to your user manual.)
Step 4: Select the Steam Level
Most handheld steam cleaners currently available on the market feature adjustable steam output; please select the appropriate setting based on the specific cleaning task.
| Number of Gears | Suitable Scenarios |
| Lower Steam | Best for lighter cleaning jobs or surfaces that require more caution |
| Medium Steam | Useful for everyday household cleaning, including sinks, counters, and general bathroom surfaces |
| Higher Steam | Useful for stubborn grime, grease, grout, and heavily soiled hard surfaces |
Step 5: Steam the Surface Slowly
Hold the nozzle close to the stain and slowly move the cleaner back and forth while releasing steam.
Clean in small sections; do not attempt to steam-clean the entire surface at once.
Use enough steam to soften and loosen the dirt, while avoiding leaving excessive moisture behind.
Step 6: Wipe Away the Loosened Dirt
Once the steam has softened the dirt, wipe the area with a clean microfiber cloth. This will prevent excess moisture from causing the dirt to spread to surrounding areas.
For stubborn stains, we recommend repeating the “steam cleaning + wiping” process.
What to Do After Using a Handheld Steam Cleaner?
- Turn off the steam cleaner and unplug it: Make sure your hands are dry.
- Release the pressure and let the machine cool down: Wait at least 10 seconds before removing any attachments.
- Empty the water tank: This helps reduce standing water, odors, and mineral buildup.
- Clean the attachments and let them dry thoroughly.
- Store the steam cleaner properly: Keep it in a cool, dry place.
Summary
Mastering the use of a handheld steam cleaner comes down to these three key points:
Selecting the right attachments, controlling the steam output, and using the correct operating techniques.
As long as you use the correct operating techniques, a handheld steam cleaner can be a valuable tool for cleaning bathrooms, kitchens, windows, cars, and many other areas of your home. If you’d like to learn more about home cleaning and tips, be sure to check out or follow iToolMax.
Frequently Asked Questions
What should you not clean with a steam cleaner?
Avoid using steam on materials that may be damaged by heat or moisture.
Depending on the manufacturer's instructions, surfaces to be cautious with can include:
- Unsealed or unfinished wood
- Certain laminate surfaces
- Delicate fabrics such as silk
- Waxed or polished finishes
- Heat-sensitive plastics
- Electronics
- Screens
- Adhesive-backed materials
- Damaged or unsealed surfaces
- Some natural stone finishes
Do handheld steamers really work for cleaning?
Yes. Handheld steam cleaners can be effective at loosening grease, soap scum, grime, dried spills, and stuck-on dirt from suitable heat- and moisture-resistant surfaces.
Do you just use water in a steam cleaner?
For many household steam cleaners, water is all that is required. Always check your machine's instructions.
Most users read:
Share:
What Is the Best Handheld Steam Cleaner? 2026 Guide