
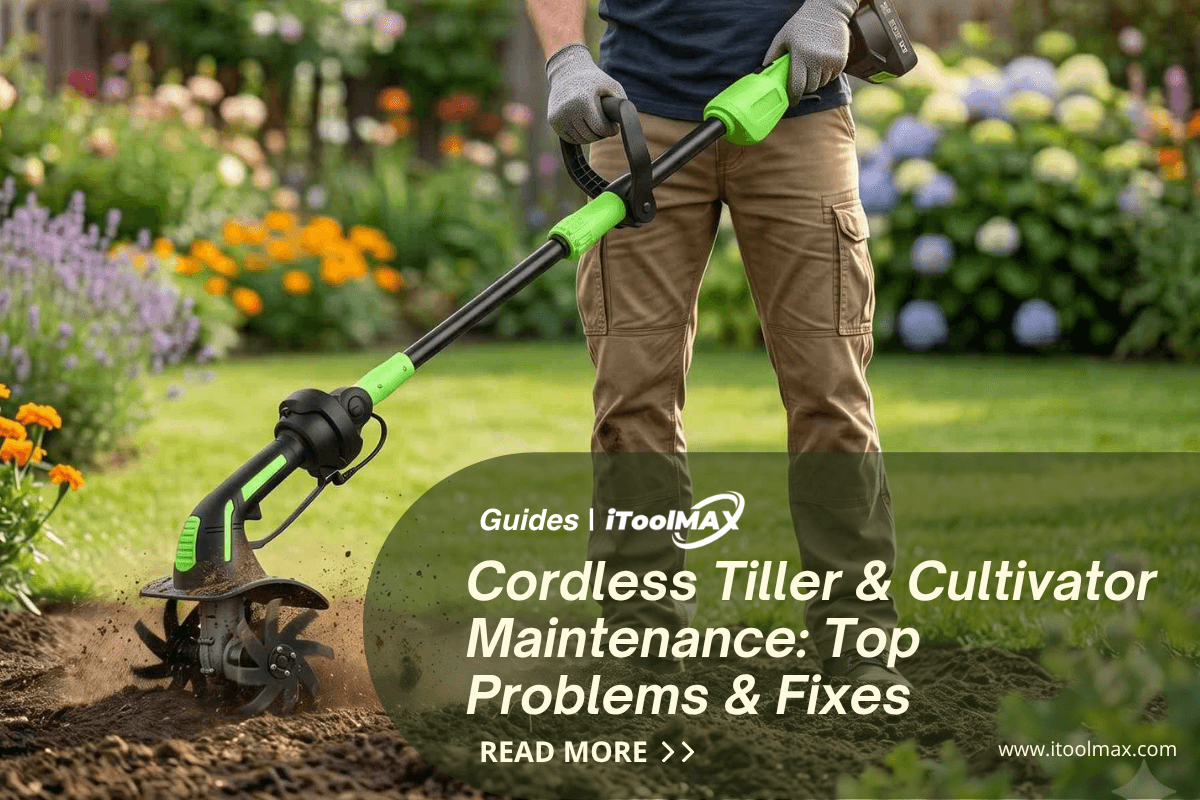
Cordless tillers and cultivators have made battery-powered yard tools work truly practical—no gasoline, no pull-start cords, and no exhaust fumes. But they also have their own set of potential issues, which are quite different from those of gas-powered tillers.
If a cordless tiller suddenly shuts down while in use, it’s usually not a carburetor problem, but rather the result of a thermal cutoff, a battery malfunction, or an overload in the electronic system.
This guide covers the nine most common issues I and iToolMax Product Team've identified while troubleshooting dozens of cordless tillers and cultivators, and provides actionable causes and solutions you can implement right away. You can read on with confidence.
1. Why Won’t My Cordless Tiller Start?
When your cordless tiller or cultivator doesn’t respond—no motor humming, no LED lights, and no movement at all—there are four things to check before concluding that the device is faulty. In my experience, the vast majority of “dead” cordless cultivators are actually caused by improperly installed batteries, triggered safety features, or a depleted battery pack. Many cordless lawn mowers face a similar situation.
| Symptom | Most Likely Cause | Fix |
| No response at all, battery fully charged | Safety key not inserted / Drive lock engaged / Did not press the safety lock and start button | Re-seat the key; release the drive lock lever |
| No response, battery LEDs show 0–1 bar / red light | Depleted battery pack | Charge battery 60–90 min, then retest |
| Stopped mid-use, now unresponsive | Thermal overload cutout triggered / Blade is stuck | Cool unit 15–20 min, retry / Clean the blade |
| LED flashes rapidly but motor won't run | Battery voltage too low or cell imbalance | Charge battery; if issue persists, battery needs replacement |
| Motor clicks but doesn't spin | Tine jam / foreign object lock | Remove battery, clear jam manually, restart |
2. Why Are the Tines on My Cultivator Not Spinning?
Cordless cultivators typically use one of two drive systems: direct gear drive or a sliding clutch gear drive. Therefore, if the motor is running—and you can hear it running—but the tines are turning weakly, intermittently, or not at all, the problem lies in the mechanical drive path between the motor and the tine shaft.
Problem1: Electronic overload protection triggered
Cause: The brushless motors in modern cordless tillers (such as the iToolMax 350RPM Cordless Tiller) are equipped with electronic current sensing. When the load suddenly increases—for example, upon hitting a rock, buried tree roots, or extremely hard clay—the controller briefly cuts off power to protect the motor windings.
Solution: Reduce the tilling depth, slow down your forward speed, or water the soil beforehand.
Problem2: Tines Jammed (The Most Common Cause of Shutdown During Operation)
Cause: Weeds, garden weed fabric, drip irrigation tubing, and long roots can become entangled around the tine shaft behind the tines, creating enough resistance to cause the motor to stall.
Solution: Use a utility knife or pruning shears to cut through the entanglement (be sure to remove the battery before clearing the jam). — Pulling by hand may result in cuts from the tine edges.
Problem3: Gearbox Gears Worn or Stripped
Cause: Entry-level cordless tillers (under $100) typically use plastic intermediate gears in their gearboxes. After one or two seasons of regular use, these gears can develop stripped or worn teeth.
Solution: Purchase a replacement gearbox assembly; however, if the tool is out of warranty, replacing the assembly is usually more cost-effective than buying a new tool.
3. Why Does My Garden Tiller Vibrate So Much?
If the handle vibrates noticeably more than usual—exceeding the tool’s normal vibration level—this almost always indicates a rotational imbalance.
- Bent or damaged tines: Remove the battery and slowly turn the tine shaft by hand—if the tines are bent, you will feel or see play. Most stores that sell this equipment offer blade replacement services or sell replacement blades; iToolMax offers accessories for sale.
- Missing tine bolts or retaining pins: A missing tine on one side will not only cause vibration but also lead to the pulling issues described in the next section.
- Loose motor mounting screws: Check the connection between the motor housing and the chassis—if there is a visible gap or looseness, tighten these screws (typically M4 or M5 hex screws, with a torque of 15–20 inch-pounds).
- Shock-absorbing handle pads (made of rubber or foam) are standard on high-end models but are not included on budget models.
4. Why Does My Cordless Tiller Pull to One Side?
If a cordless rotary tiller or cultivator constantly drifts to the left or right, it forces the operator to constantly make corrections, causing wrist fatigue at a rate far exceeding normal levels. For battery-powered equipment, this problem is almost always caused by mechanical issues rather than electronic malfunctions.
- Uneven wear on the tines: This is the most common cause and usually develops gradually; you can determine this by inspecting or measuring the tines on both sides. You can swap the tines on both sides to even out the wear, or simply replace the entire set of tines.
- Incorrect tine installation: If the cultivator tines were installed backwards during a previous blade replacement, they will drag rather than cut, creating uneven resistance on that side. After removing the battery, compare the curvature of the cultivator tines on both sides using the diagram in the operator’s manual or the molded arrows on the tines (found on most genuine iToolMax cultivator tines).
- Working on slopes or near ditches: On slopes steeper than approximately 5°, the cultivator will naturally drift downward. If your garden is on a gentle slope, work across the slope (perpendicular to the slope’s direction) rather than down the slope.
5. Why Does the Tiller Belt Keep Slipping or Breaking?
Unlike gas-powered rear-tine tillers with V-belt drives, cordless tillers and cultivators use an enclosed gear drive — typically a worm gear or helical gear reduction set inside a sealed aluminum or reinforced-plastic housing. There are no belts to slip. When the drive system fails on a cordless unit, it's gear wear, lubrication failure, or an electronic torque-limiting event.
Gear Wear or Stripping
Signs of gear wear: When rotating the tiller by hand (with the battery removed), the tiller blades turn with almost no resistance; or you hear a grinding or clicking noise during operation instead of a crisp humming sound.
Solution: The gears cannot be serviced individually.
Dried-out or insufficient gear grease
Signs of gear wear: Some mid-range wireless tillers have a grease fitting on the gearbox housing (look for a small rubber plug or a hex-head grease fitting).
Solution: If your model is equipped with a grease fitting, apply a small amount of grease at the start of each season or after each use, and clean it thoroughly yourself.
6. Why Does the Tiller Belt Keep Slipping or Breaking?
This is the most common complaint I hear from users who have switched from gasoline-powered tillers to cordless models but expect them to have the same continuous runtime. The brushless motors in cordless tillers have a rated duty cycle—typically 20 to 30 minutes when operating at full load in compacted soil.
What Triggers Thermal Protection Shutdown:
The brushless motor controller monitors the winding temperature via a thermistor. When the motor winding temperature exceeds approximately 185°F (85°C)—a common threshold for consumer-grade brushless motors—the controller cuts off power output until the temperature drops below approximately 140°F (60°C). This process takes 10–20 minutes. The battery thermal management system operates independently: if the temperature of a battery cell exceeds the safe range (typically above 113°F / 45°C), the battery itself will also stop discharging until it cools down.
| Check | Normal State | Action if Issue Found |
|---|---|---|
| Battery temperature | Warm but not hot to the touch after use | Cool in shade 15 min; never charge a hot battery |
| Motor housing vents | Clear of dirt, grass clippings, and debris | Clear with compressed air; clean after each use |
| Tilling speed (pace) | Slow, steady forward progress | Slow down; let tines do the work — rushing increases motor load |
| Soil conditions | Moist and previously tilled or garden bed soil | Pre-water dry compacted soil 24 hrs before tilling |
| Battery age / capacity | Full charge holds >80% of original run time | Battery with <80% capacity delivers inconsistent voltage, increasing motor stress — replace |
7. Can a Cordless Tiller Work on Hard Soil?

Cordless rotary tillers and cultivators are optimized for flower bed maintenance and light-to-moderate soil preparation(For example, the iToolMax 2-in-1 Cordless Tiller Cultivator)—they are not suitable for tilling virgin clay, compacted lawns, or heavy soils with thick root systems.
This is the most important limitation to understand before purchasing or troubleshooting. That said, significant improvements can indeed be achieved through practical techniques and configuration adjustments. The following four tips are based on our extensive testing and consultations with professional growers:
-
Water 24 hours before tilling: Clay soil at field capacity (moist but not muddy) requires 40% to 60% less motor torque during tilling than dry clay soil.
Test method: Squeeze a handful of soil—when you release your hand, the soil should crumble into small particles rather than remain a sticky clump. - Multiple shallow tillages: The first pass should be 2–3 inches deep, and the second 4–5 inches deep.
- Tine type matters: The type of tines is crucial; pickaxe-style or arrowhead-style tines penetrate compacted soil more effectively than standard conical tines.
- Use a fully charged battery pack: Ensure you use a fully charged battery pack before each tilling session. If working on a large area, consider purchasing a second battery and swapping it out mid-session.
8. How Does a Cordless Garden Tiller Work?
- Battery Powers the Motor: When you pull the trigger, the battery sends power through the controller to the brushless motor.
- Motor Drives the Gearbox: The high-speed motor transfers power into a gear reduction system, lowering speed while increasing torque.
- Gearbox Rotates the Tines: The gearbox turns the tine shaft directly, delivering steady digging power without belt slipping.
- Tines Break the Soil: Hardened steel tines rotate to cut, loosen, and mix soil for planting or weed control.
- Built-In Protection System: The controller monitors heat and power draw, automatically reducing output if the tool overheats or overloads.
9. How Do You Change Tiller or Cultivator Blades?

- Remove the battery completely before changing the blades for safety.
- Wear heavy gloves, as tiller tines are sharp even when worn.
- Remove the retaining bolt, pin, or knob depending on your model.
- Slide off the old tine and note the blade direction before removal.
- Match the new tine with the correct model and orientation.
- Install the new tine securely and tighten the hardware properly.
- Replace all tines together to reduce vibration and uneven digging.
Share:
12-Inch Cordless Weed Wacker Review: Worth It in 2026?
Why Is My Cordless Lawn Mower Not Starting? 7 Real Causes & Step-by-Step Fixes